Showing posts with label DIY. Show all posts

Friday, June 13, 2014


A while ago, I posted about this house I made out of cardboard

I had every intention of painting it but we decided to doodle all over it, instead.

Much more fun!


THE LOVE SHACK.

Read More

Sunday, May 4, 2014


NEXT STEP: paint.


CARDBOARD HOUSE

Read More


BABY QUILT PROGRESS

Read More

Thursday, June 6, 2013


\
{owl plushies}

RECENTLY CRAFTED THINGS.

Read More

Saturday, May 18, 2013


I'm totally loving our new IKEA ANTILOP highchair, it's sleek, inexpensive.. but also pretty boring. So, I thought I'd jazz it up a little!

Using a (FREE!) pattern from BurdaStyle, I whipped up this little gem in about 30 minutes or so. I plan on making more since they are machine washable, easy and so fun! 

If you own an ANITLOP highchair and would like to make your own, the pattern can be found (AGAIN: FREE!) HERE.


Ta-da!

[DIY] IKEA ANTILOP COVER

Read More

Tuesday, May 14, 2013

Just wanted to share a little something I painted recently. I got a large canvas for Christmas and finally (somehow) was able to find the space and time to finish it :)


PAINTING

Read More

Saturday, February 23, 2013


YOU'LL NEED

- Fabric mod podge
- Needle 
- Thread
- Fabric scraps
- Scissors 
- Patience! :)


THE STEPS
  1. First you'll want to find an image to use. The options are unlimited. You can freehand, or find an image online and print it out and use it as a stencil. 
  2. Take a section of fabric and apply an even coat of fabric mod podge. Once it's dry, it'll stiffen the fabric and make it easier to cut out your design. Some tutorials I have seen online say to cut out your design first, then apply the mod podge, which you can do.. but I found it easier to do it this way. Whatever works for you.
  3. Trace and cut out your design.
  4. Apply a GENEROUS, thick layer of mod podge and press firmly onto the tee
  5. Once that's dry, sew around the edges with a contrasting thread color. This part isn't technically necessary, but it adds a little something and also keeps everything secure.


{voila!}


Create & Inspire Linky Party

DIY DINO BABY TEE

Read More

Monday, August 13, 2012


Super quick and easy! The little man didn't even fuss during the imprinting process. Win! I will probably mount this one in a shadowbox and put it on the wall. You could also paint it, but I personally love how it looks like sand.  

// SALT DOUGH

half cup whole wheat flour
half cup salt
one third cup water

PS: You can use regular flour if you'd like a smoother consistency.

Preheat oven to 200F. Combine ingredients to form a consistent dough. Roll into balls and form small patties. Gently press little one's foot into the dough. Bake for 2.5 hours. Done!

SANDY FOOTPRINT KEEPSAKE

Read More

Friday, July 27, 2012


TA-DA!

{hoop + ribbon wall art}

Read More

Friday, July 20, 2012


// THE GOODIES
- feathers
- end caps
- briolette beads
- wire + tools
- an assortment of beads, pearls, shells..
- various chains 
- ribbon, string, yarn.. anything, really!
- a branch, stick or dowel
- GLUE
 {trim feathers and secure end-caps with glue}
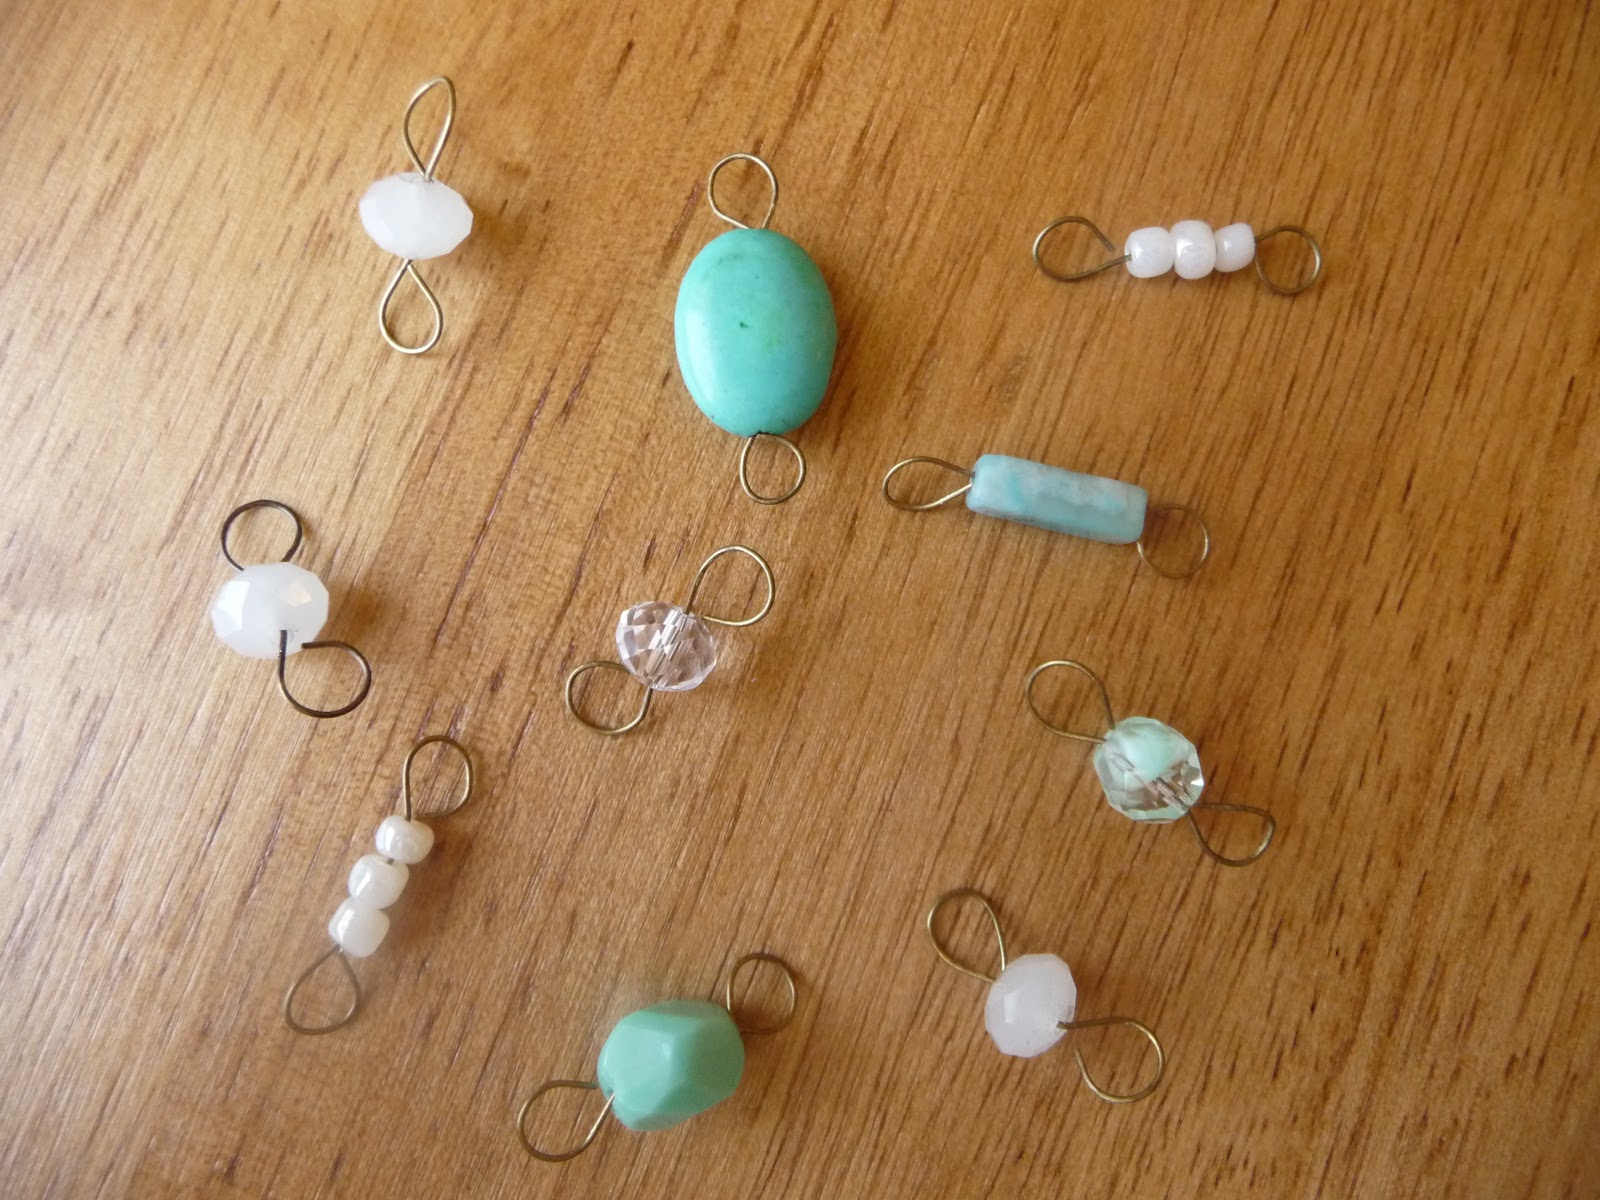
{wire-wrap briolettes}
 {gather bits and piece of yarn, string, ribbon and chain}
 {wire-wrap shells, pearls and beads}
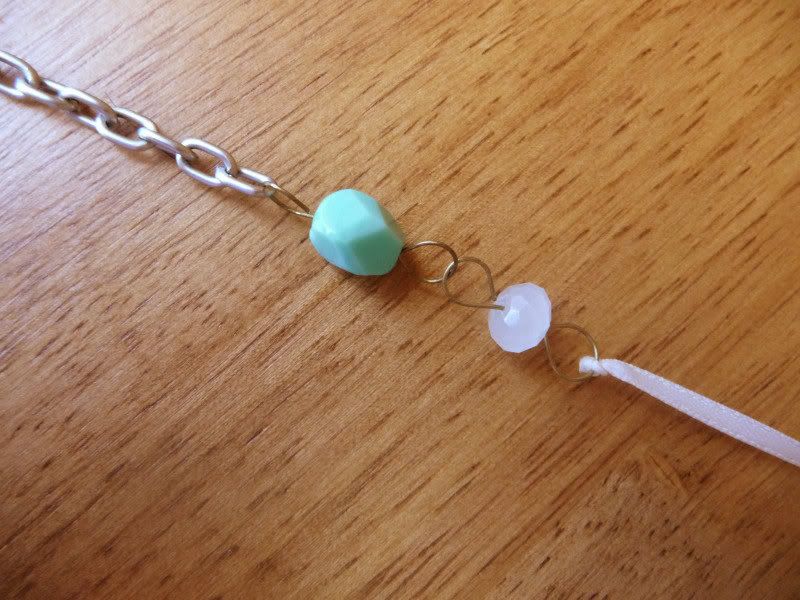
 {start creating little 2"-3" segments of alternating chain, ribbon, and beads}
 {glue your knots! glue is your friend... until you glue yourself to yourself, that is}
 {keep going!}
{make as many strands as you'd like}
{secure each strand to the branch with a knot and some glue}
VOILA!

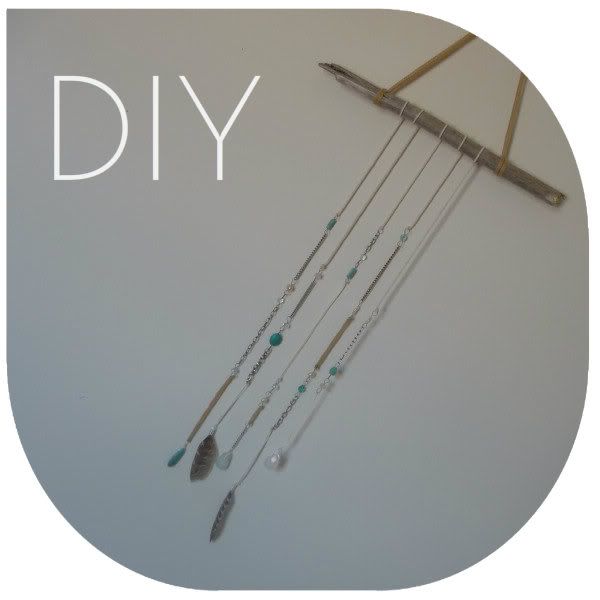
{beaded branch wall art}

Read More

Monday, July 9, 2012

{painted + repurposed metal cans for storage} 


REUSE + REPURPOSE

Read More

Sunday, July 1, 2012


VINTAGE PLATE STAND

Read More

Friday, June 29, 2012


The end!


RIBBON TANK

Read More